harbor
安装harbor
安装在k8smaster机器上,192.168.56.80
依赖docker-compose, 下载地址 https://github.com/docker/compose/releases/tag/v2.12.2
harbor安装
1cd /opt/
2wget https://github.com/goharbor/harbor/releases/download/v2.6.2/harbor-online-installer-v2.6.2.tgz
3tar -zxvf harbor-offline-installer-v2.6.2.tgz
4cd harbor
5cp harbor.yml.tmpl  harbor.yml
6vim harbor.yaml
7# 修改hostname: 192.168.80.56  harbor_admin_password: 123456 ,用户:admin  ,注释https
8# https://github.com/cr-mao/develop_study/blob/main/harbor/harbor.yml
9./install.sh  --with-trivy --with-chartmuseum
安装完毕执行
 1vagrant@k8smaster:/opt/harbor$ sudo docker-compose ps
 2NAME                COMMAND                  SERVICE             STATUS              PORTS
 3chartmuseum         "./docker-entrypoint…"   chartmuseum         running (healthy)
 4harbor-core         "/harbor/entrypoint.…"   core                running (healthy)
 5harbor-db           "/docker-entrypoint.…"   postgresql          running (healthy)
 6harbor-jobservice   "/harbor/entrypoint.…"   jobservice          running (healthy)
 7harbor-log          "/bin/sh -c /usr/loc…"   log                 running (healthy)   127.0.0.1:1514->10514/tcp
 8harbor-portal       "nginx -g 'daemon of…"   portal              running (healthy)
 9nginx               "nginx -g 'daemon of…"   proxy               running (healthy)   0.0.0.0:80->8080/tcp
10redis               "redis-server /etc/r…"   redis               running (healthy)
11registry            "/home/harbor/entryp…"   registry            running (healthy)
12registryctl         "/home/harbor/start.…"   registryctl         running (healthy)
13trivy-adapter       "/home/scanner/entry…"   trivy-adapter       running (healthy)
修改docker配置/etc/docker/daemon.json,重启docker
增加一行: “insecure-registries”: [“192.168.56.80”]
1  {
2    "exec-opts": ["native.cgroupdriver=systemd"],
3    "log-driver": "json-file",
4    "log-opts": {    "max-size": "100m"  },
5    "storage-driver": "overlay2",
6    "registry-mirrors": ["https://registry.cn-hangzhou.aliyuncs.com","https://hub.docker.com","http://hub-mirror.c.163.com","https://tdiin4cc.mirror.aliyuncs.com"],
7    "insecure-registries": ["192.168.56.80"]
8  }
1systemctl daemon-reload
2systemctl restart docker
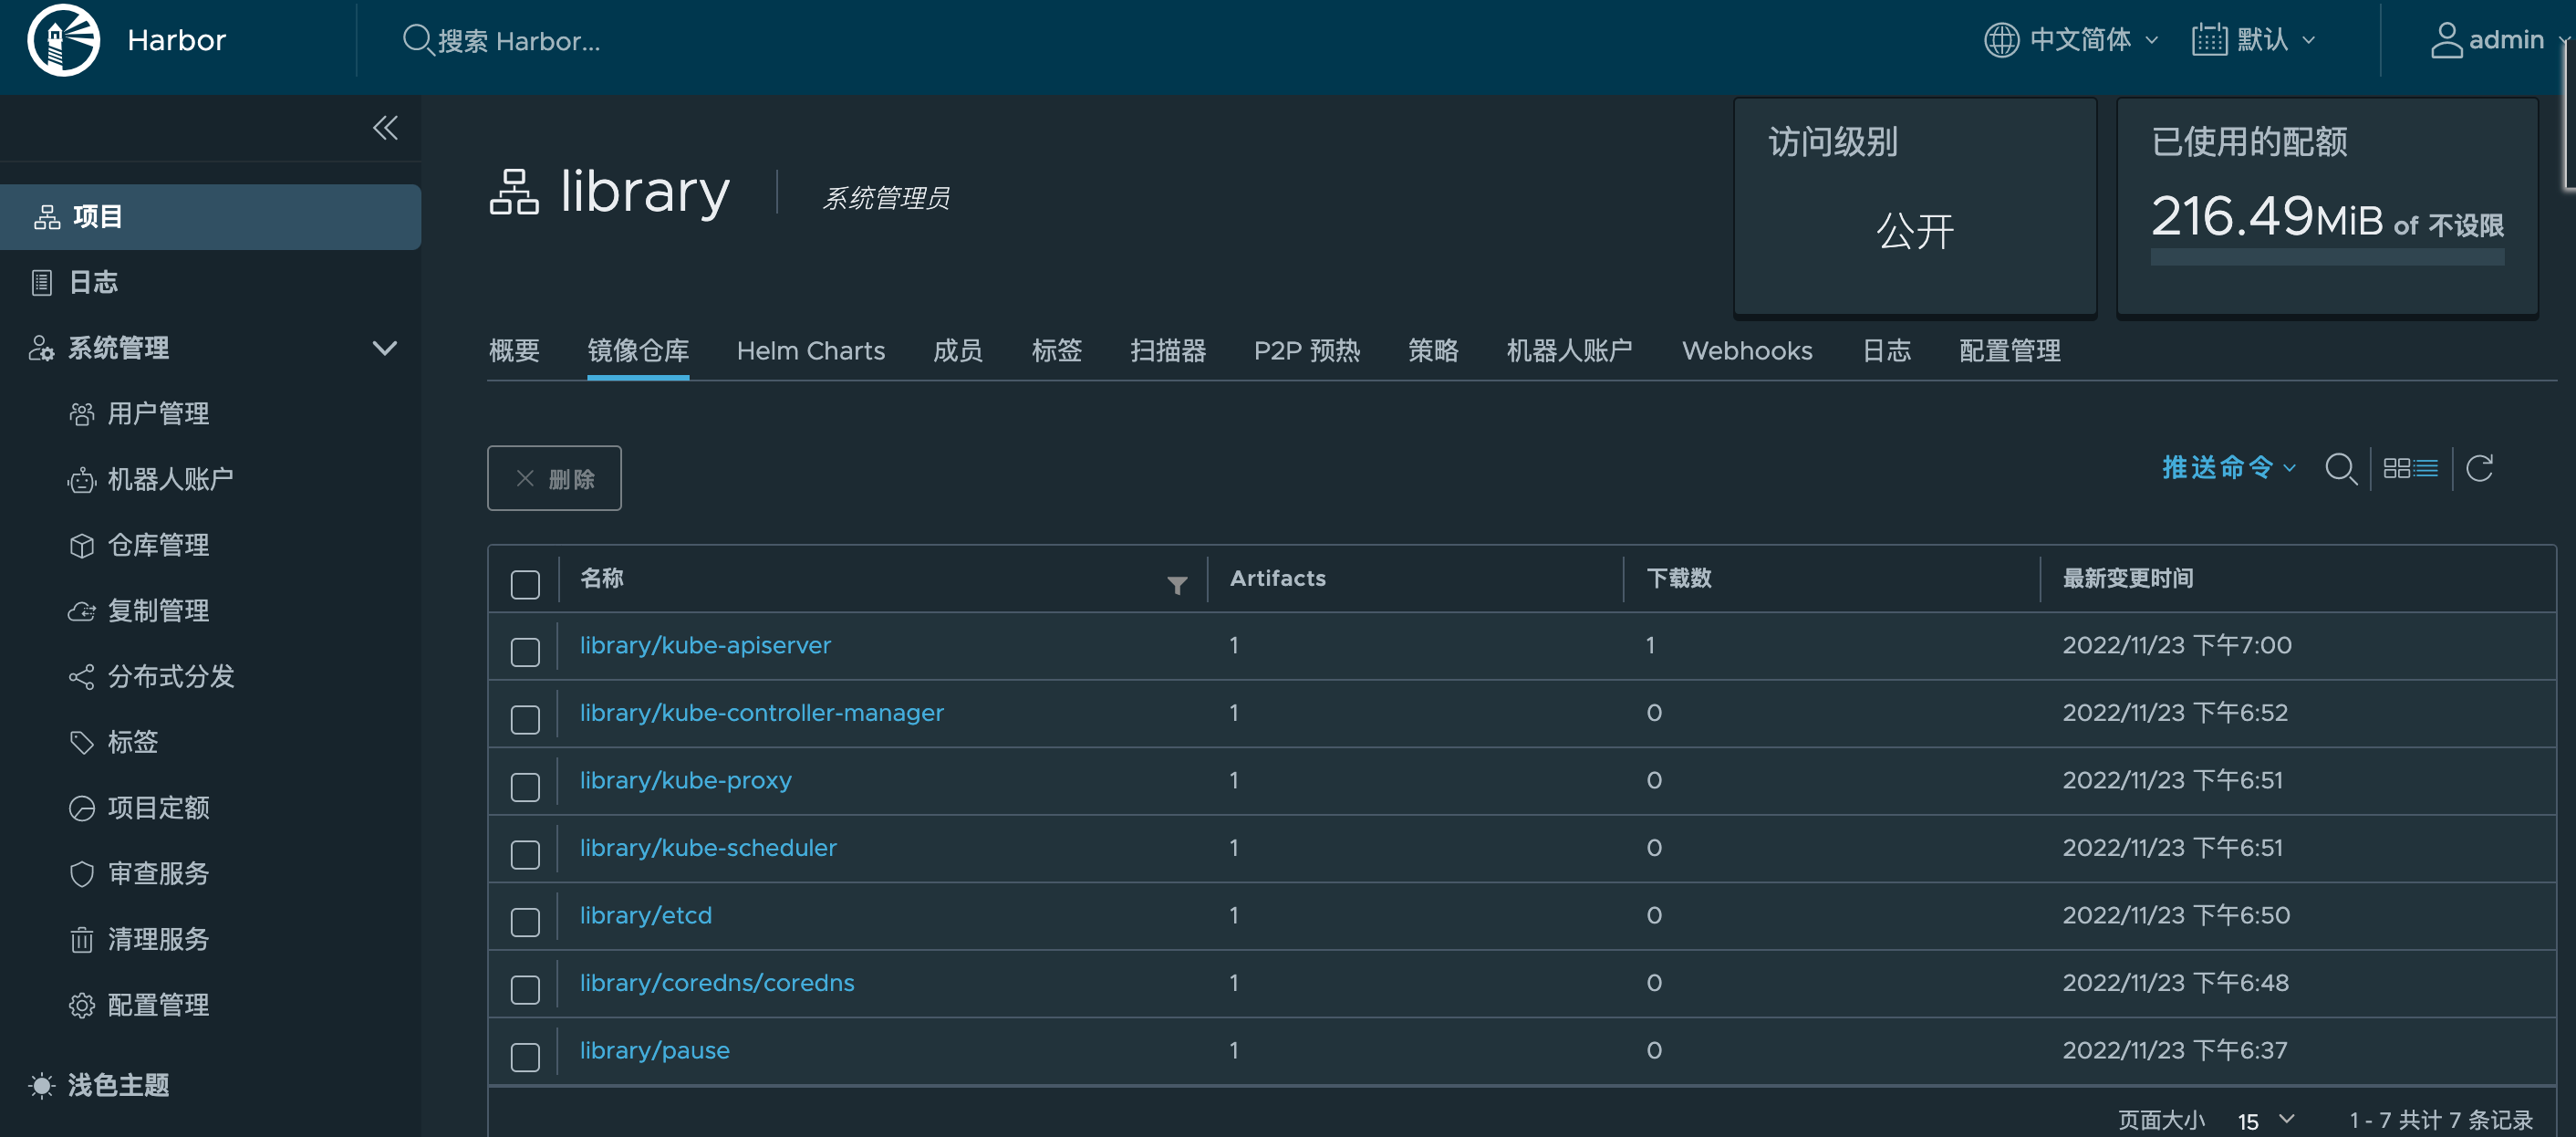
push镜像到harbor
将k8s集群需要的镜像上传至harbor仓库
library是公有的直接上传即可
 1docker login 192.168.56.80  # admin 123456
 2docker tag k8s.gcr.io/pause:3.6 192.168.56.80/library/pause:3.6
 3docker tag k8s.gcr.io/coredns/coredns:v1.8.6 192.168.56.80/library/coredns/coredns:v1.8.6
 4docker tag k8s.gcr.io/etcd:3.5.1-0 192.168.56.80/library/etcd:3.5.1-0
 5docker tag k8s.gcr.io/kube-scheduler:v1.23.3 192.168.56.80/library/kube-scheduler:v1.23.3
 6docker tag k8s.gcr.io/kube-proxy:v1.23.3 192.168.56.80/library/kube-proxy:v1.23.3
 7docker tag k8s.gcr.io/kube-controller-manager:v1.23.3 192.168.56.80/library/kube-controller-manager:v1.23.3
 8docker tag k8s.gcr.io/kube-apiserver:v1.23.3 192.168.56.80/library/kube-apiserver:v1.23.3
 9docker push 192.168.56.80/library/pause:3.6
10docker push 192.168.56.80/library/coredns/coredns:v1.8.6
11docker push 192.168.56.80/library/etcd:3.5.1-0
12docker push 192.168.56.80/library/kube-scheduler:v1.23.3
13docker push 192.168.56.80/library/kube-proxy:v1.23.3
14docker push 192.168.56.80/library/kube-controller-manager:v1.23.3
15docker push 192.168.56.80/library/kube-apiserver:v1.23.3
存储目录
1root@k8smaster:/data/registry/docker/registry/v2/repositories/library# ls
2coredns  kube-apiserver           kube-proxy      pause
3etcd     kube-controller-manager  kube-scheduler
从harbor拉取镜像
换一台机器进行拉去测试
1vagrant@k8snode1:~$ sudo docker pull 192.168.56.80/library/kube-apiserver:v1.23.3
2v1.23.3: Pulling from library/kube-apiserver
32df365faf0e3: Pull complete
4d3ec803c6980: Pull complete
5a5221b90f9cc: Pull complete
6Digest: sha256:add26e08df876fd8b92a53fab000bade34f624693f7944595776b75be17e5269
7Status: Downloaded newer image for 192.168.56.80/library/kube-apiserver:v1.23.3
8192.168.56.80/library/kube-apiserver:v1.23.3
线上真实配置(避坑指南)
因为harbor所在服务器已经装了nginx 。 首先 harbor.yml 配置文件的port 好比写的是 8889. 我用blharbor.xxx.com 作为域名 在nginx 那边做了个反向代理到 harbor需要 的web页面端口。
docker的配置文件
 1 {
 2    "exec-opts": ["native.cgroupdriver=systemd"],
 3    "log-driver": "json-file",
 4    "log-opts": {    "max-size": "100m"  },
 5    "storage-driver": "overlay2",
 6    "registry-mirrors": ["https://registry.cn-hangzhou.aliyuncs.com","https://hub.docker.com","http://hub-mirror.c.163.com","https://tdiin4cc.mirror.aliyuncs.com"],
 7    "insecure-registries": ["http://blharbor.xxx.com:8889"],
 8    "dns" : [
 9      "8.8.8.8",
10      "223.5.5.5"
11  ]
12}
docker images 命名
1blharbor.xxx.com:8889/library/superset 1.5.1
1sudo docker login blharbor.xxx.com:8889
2 sudo docker push blharbor.xxx.com:8889/library/superset:1.5.1
gitlab安装、使用
安装
安装文档 https://docs.gitlab.cn/jh/install/docker.html
因为我的电脑内存不够,所以安装版本低的 小于10 不怎么吃内存
安装在k8snode1机器上,192.168.56.81
/etc/hosts写入 127.0.0.1 gitlab.cr-mao.com
mac hosts修改 192.168.56.81 gitlab.cr-mao.com
 1docker run --detach \
 2  --hostname gitlab.cr-mao.com \
 3  --publish 8881:443 --publish 8882:80 --publish 8883:22 \
 4  --name gitlab \
 5  --restart always \
 6  --volume `pwd`/config:/etc/gitlab \
 7  --volume `pwd`/logs:/var/log/gitlab \
 8  --volume `pwd`/data:/var/opt/gitlab \
 9  gitlab/gitlab-ce:9.3.10-ce.0
10#root 12345678
11
12# 如修改配置config/gitlab.rb 或容器里的 /etc/gitlab/gitlab.rb
13# gitlab-ctl reconfigure
14
15
16# 验证 GitLab 启动完成
17gitlab-ctl status
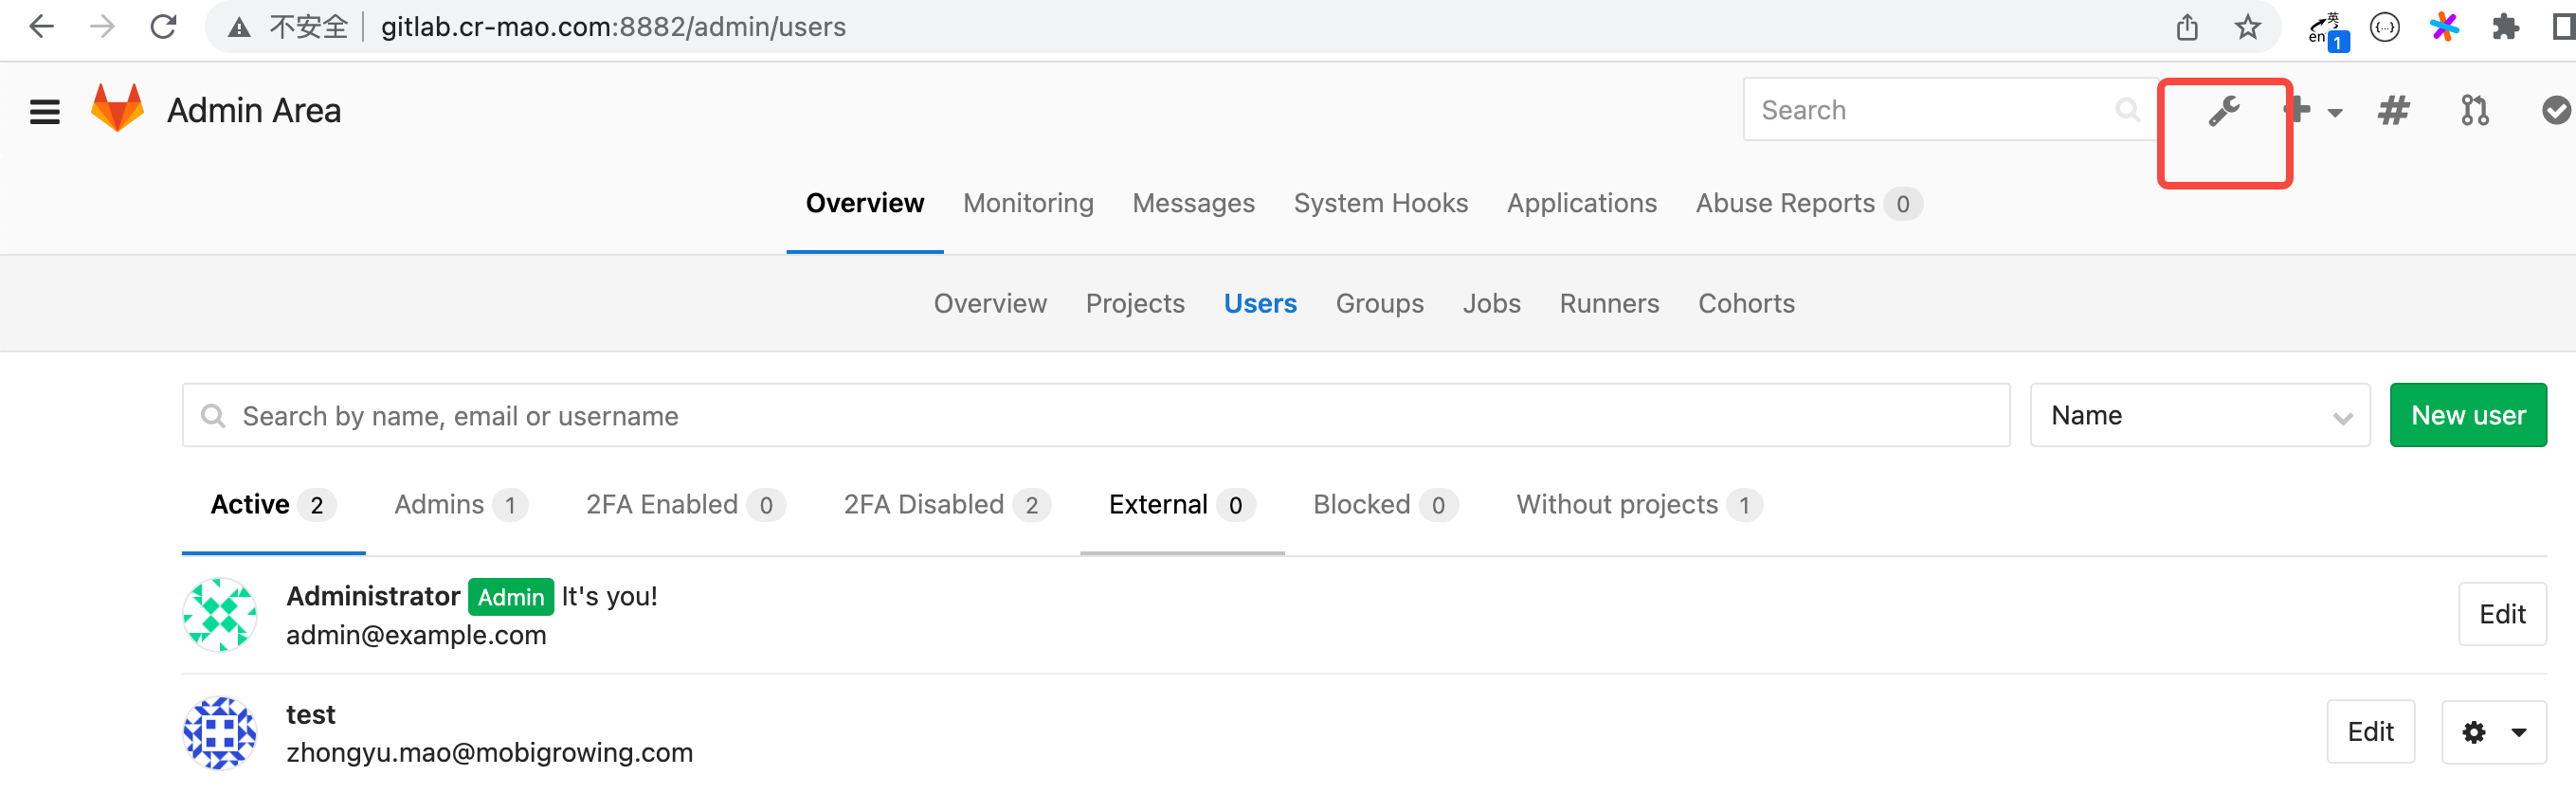
创建group、project、用户
项目会进行分组
创建一个group 名为crmao
Visibility Level 为 Internal (The group and any internal projects can be viewed by any logged in user.)
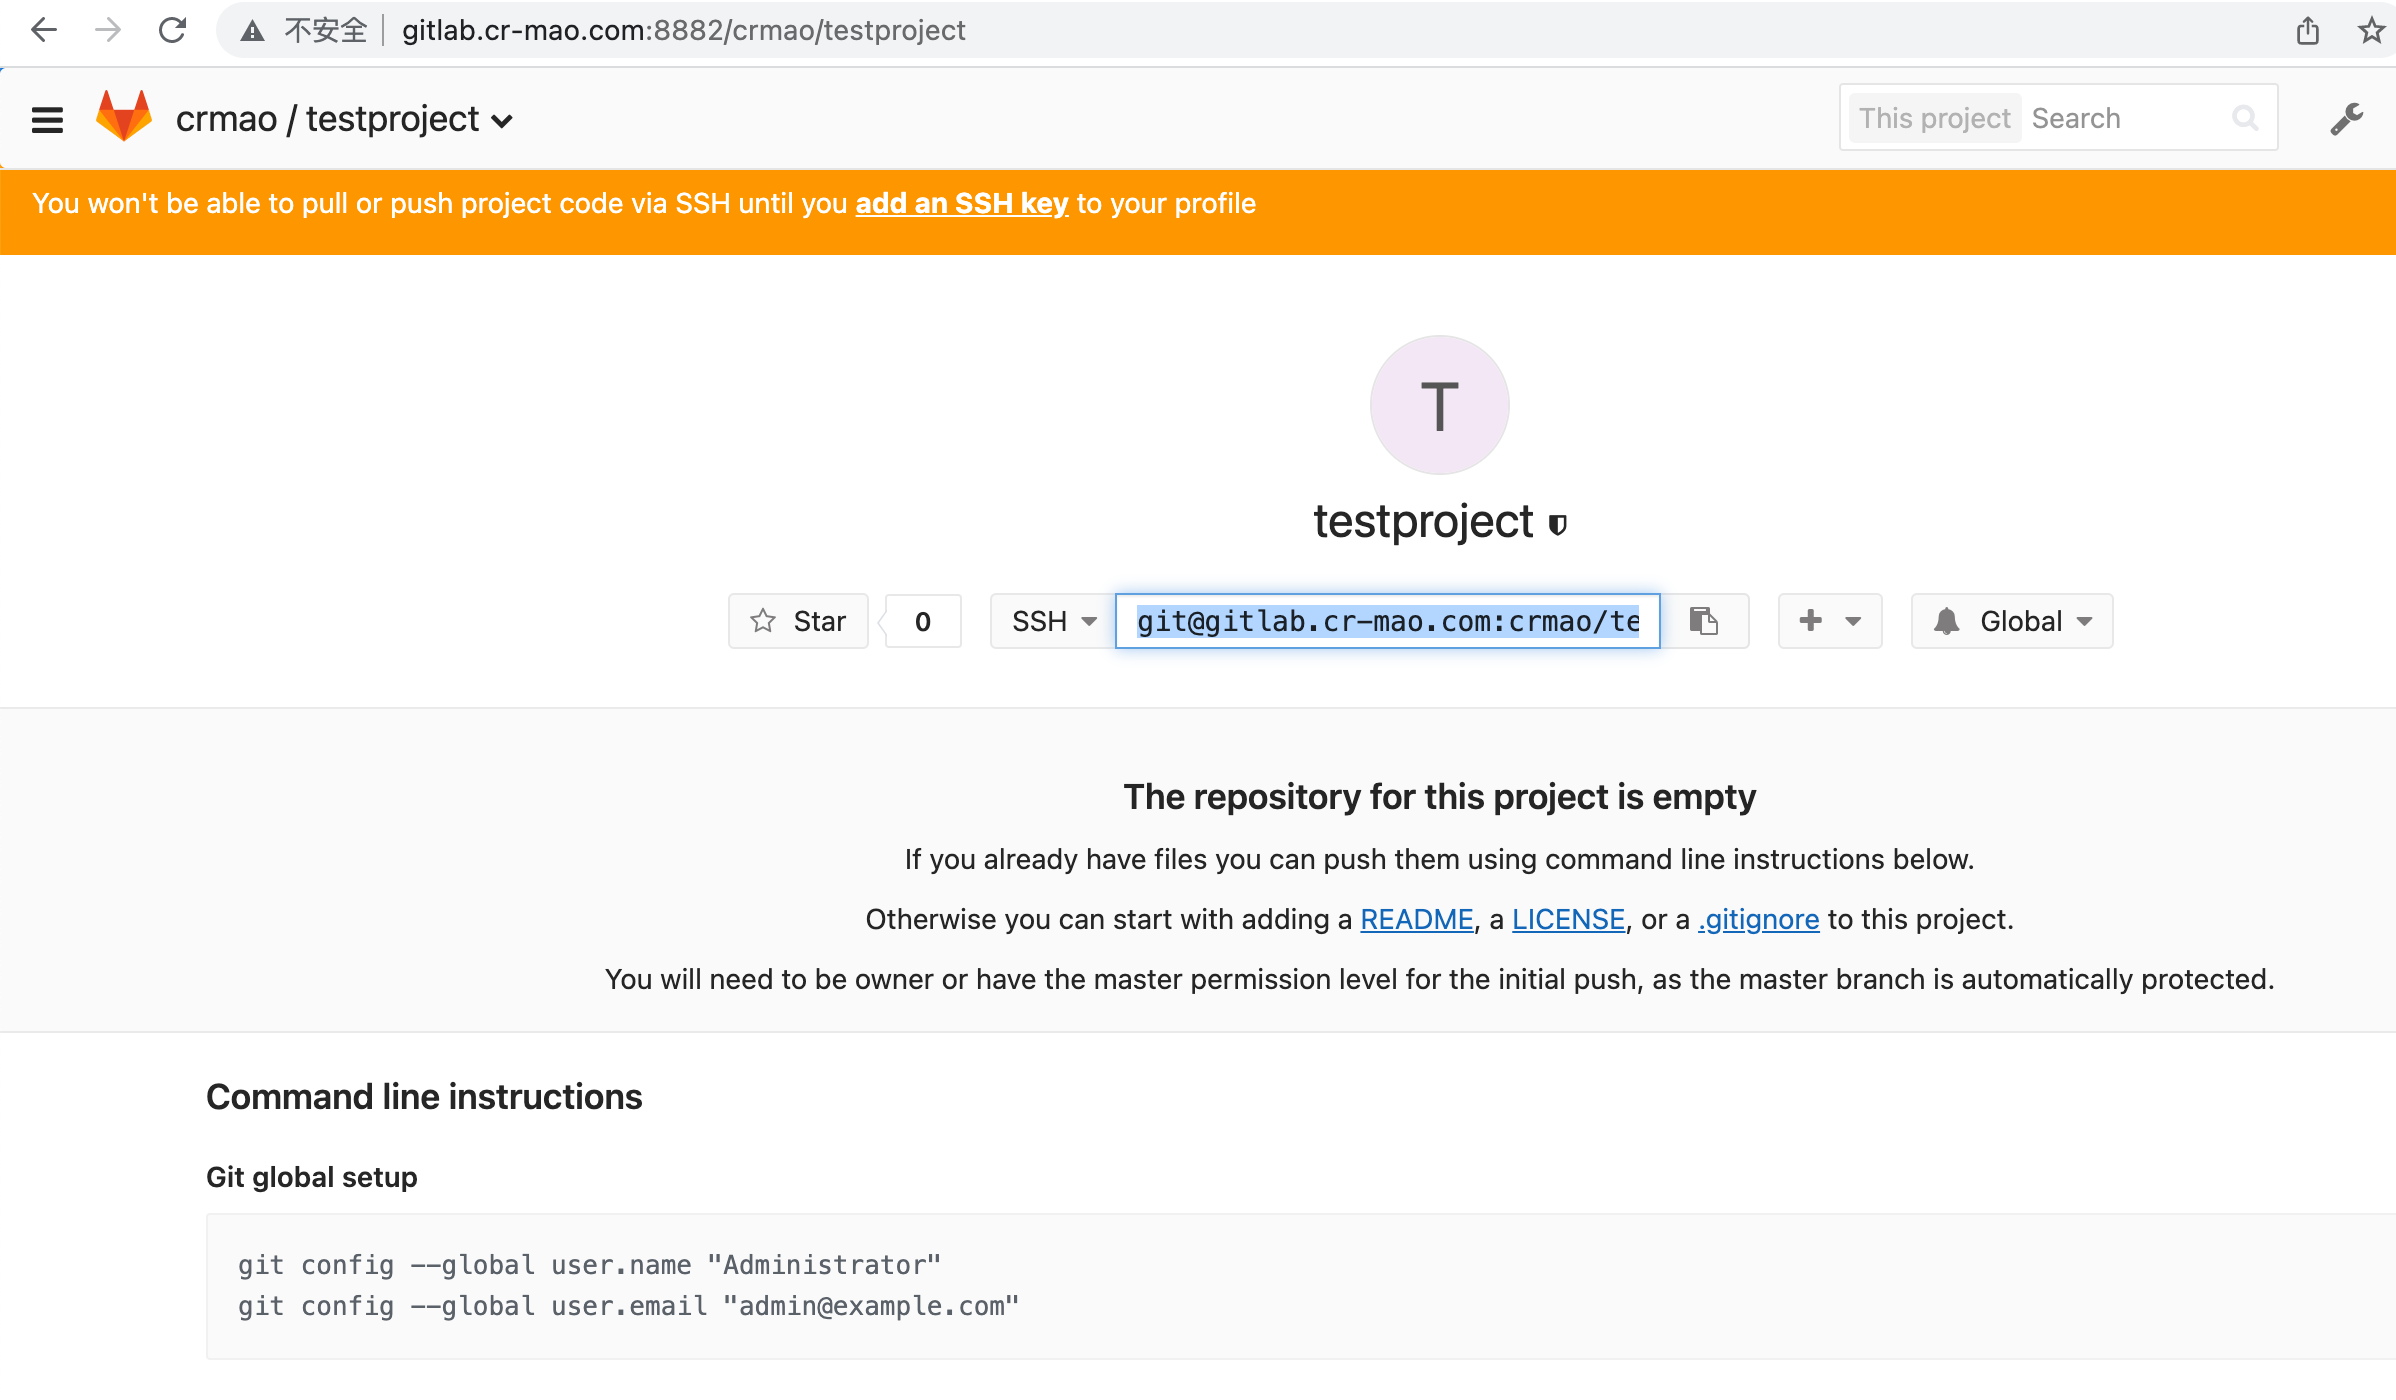
创建一个project为 testproject ,可见性也为 Internal
创建用户
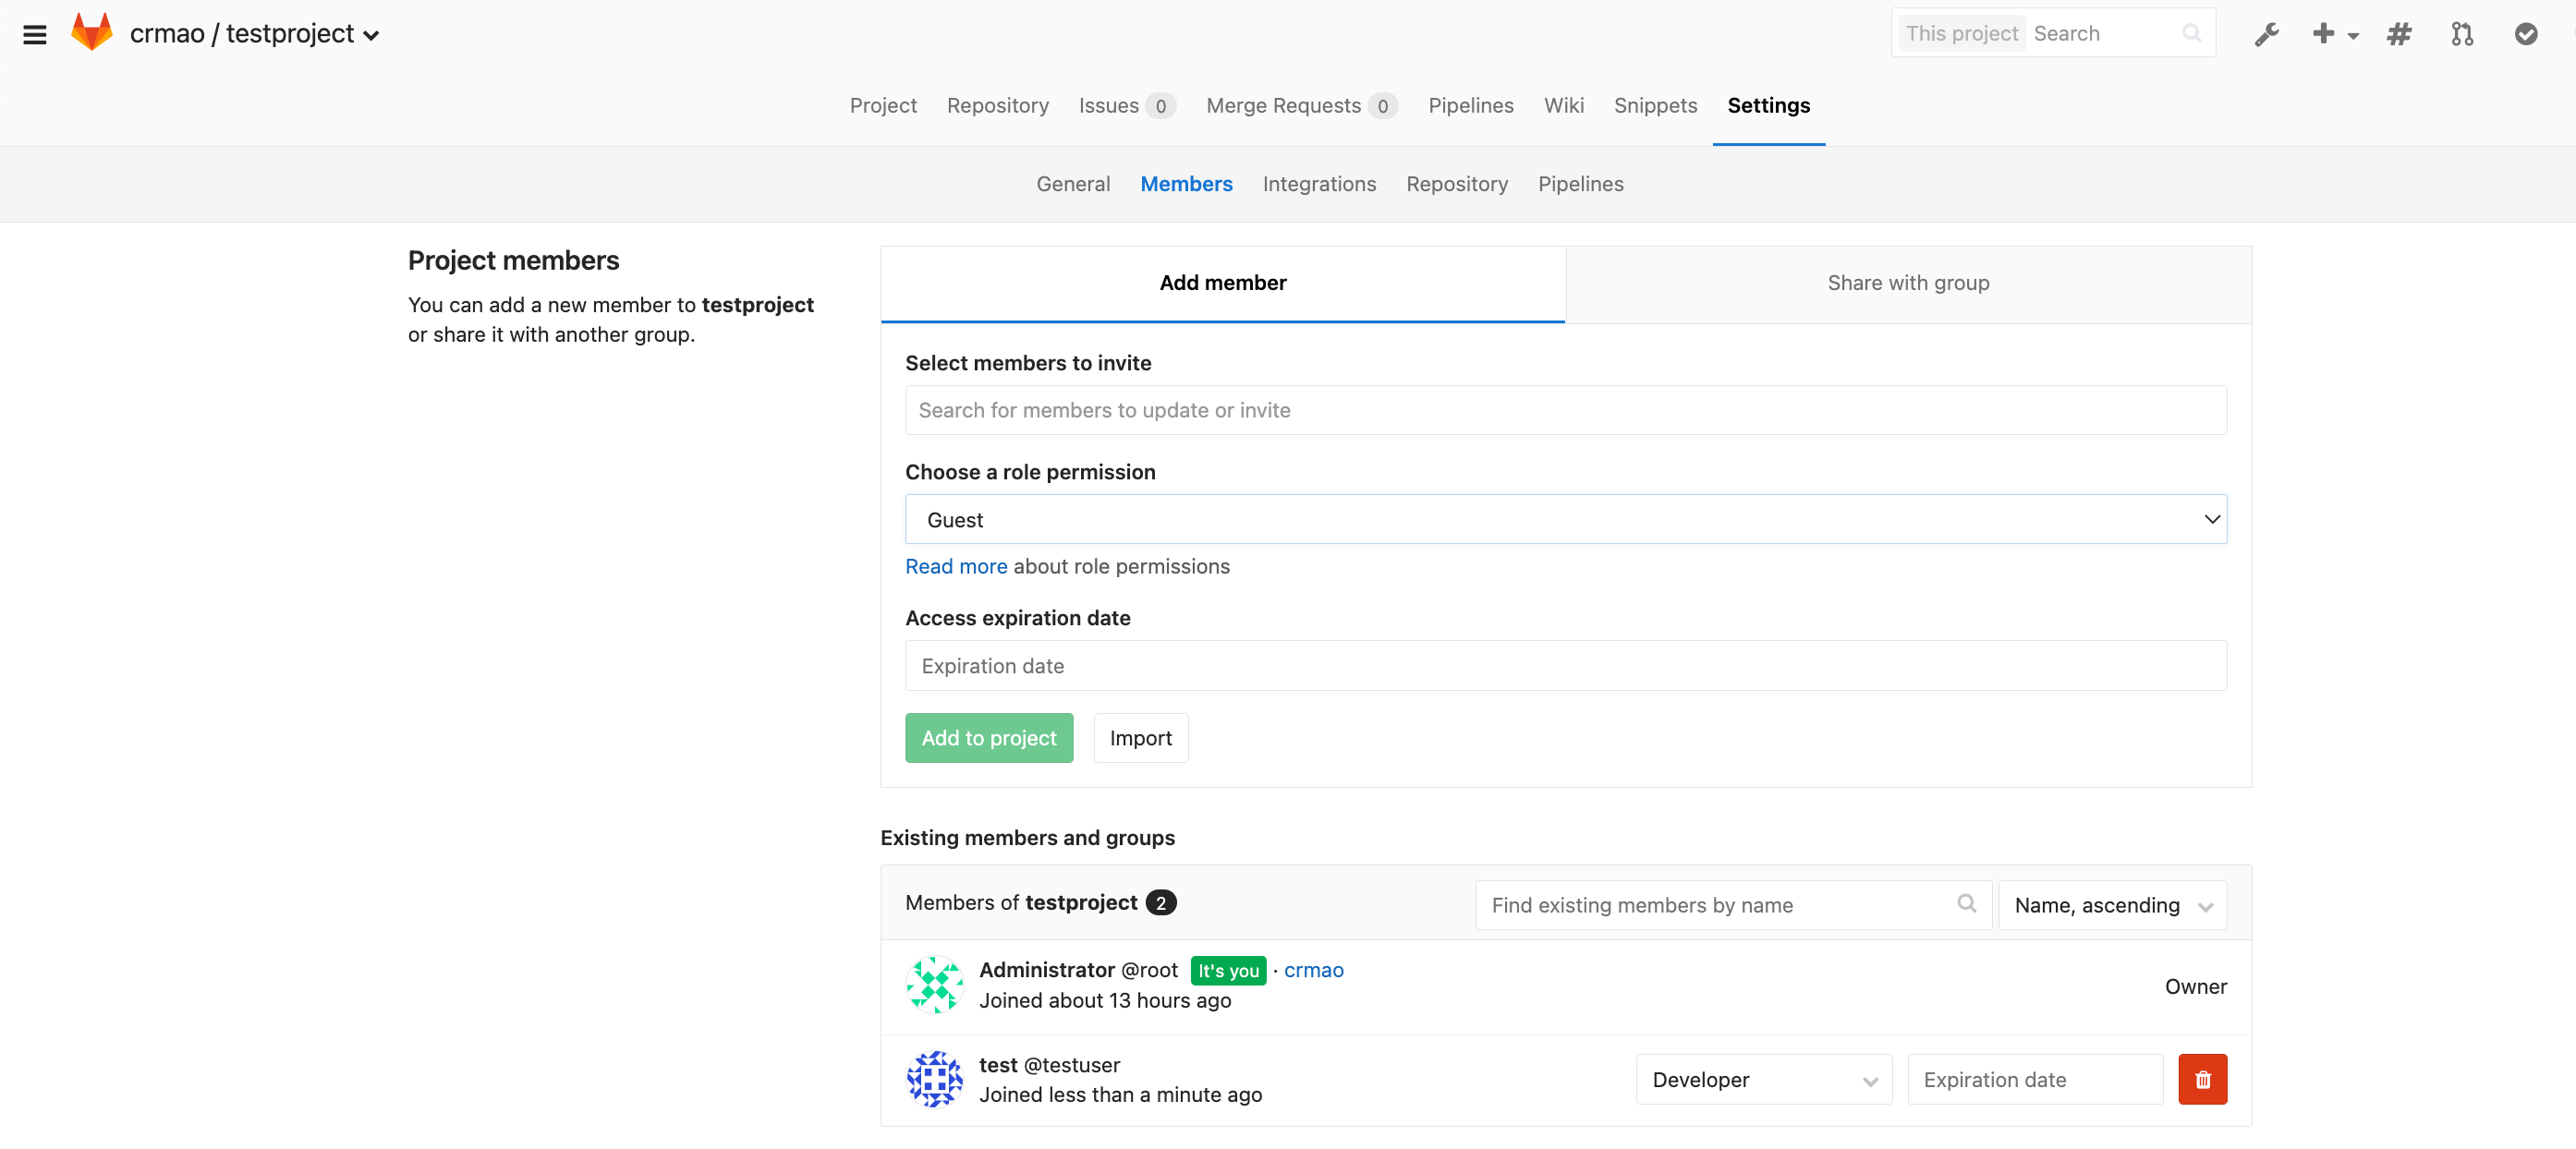
将用户加入到项目成员
把ssh 公钥 放到 gitlab的sshkey 中
1git remote add origin ssh://git@gitlab.cr-mao.com:8883/crmao/testproject.git
2git push origin master  # 推送成功
jenkins
安装脚本
用这个版本 JENKINS_VERSION=2.332.1,高版本和低版本 用户root启动有点不一样
https://mirrors.aliyun.com/jenkins/debian-stable/jenkins_2.332.1_all.deb
https://github.com/cr-mao/develop/blob/main/jenkins/install_jenkins.sh
1systemctl status jenkins.service
用root启动
用root启动 ,减少会面权限不够的问题
改配置文件 /etc/default/jenkins (老一点的版本)
1JENKINS_USER=root
2JENKINS_GROUP=root
/lib/systemd/system/jenkins.service 改这里的用户 (新版本)
systemctl daemon-reload
systemctl restart jenkins.service
插件管理
可以自定义插件,先选择无
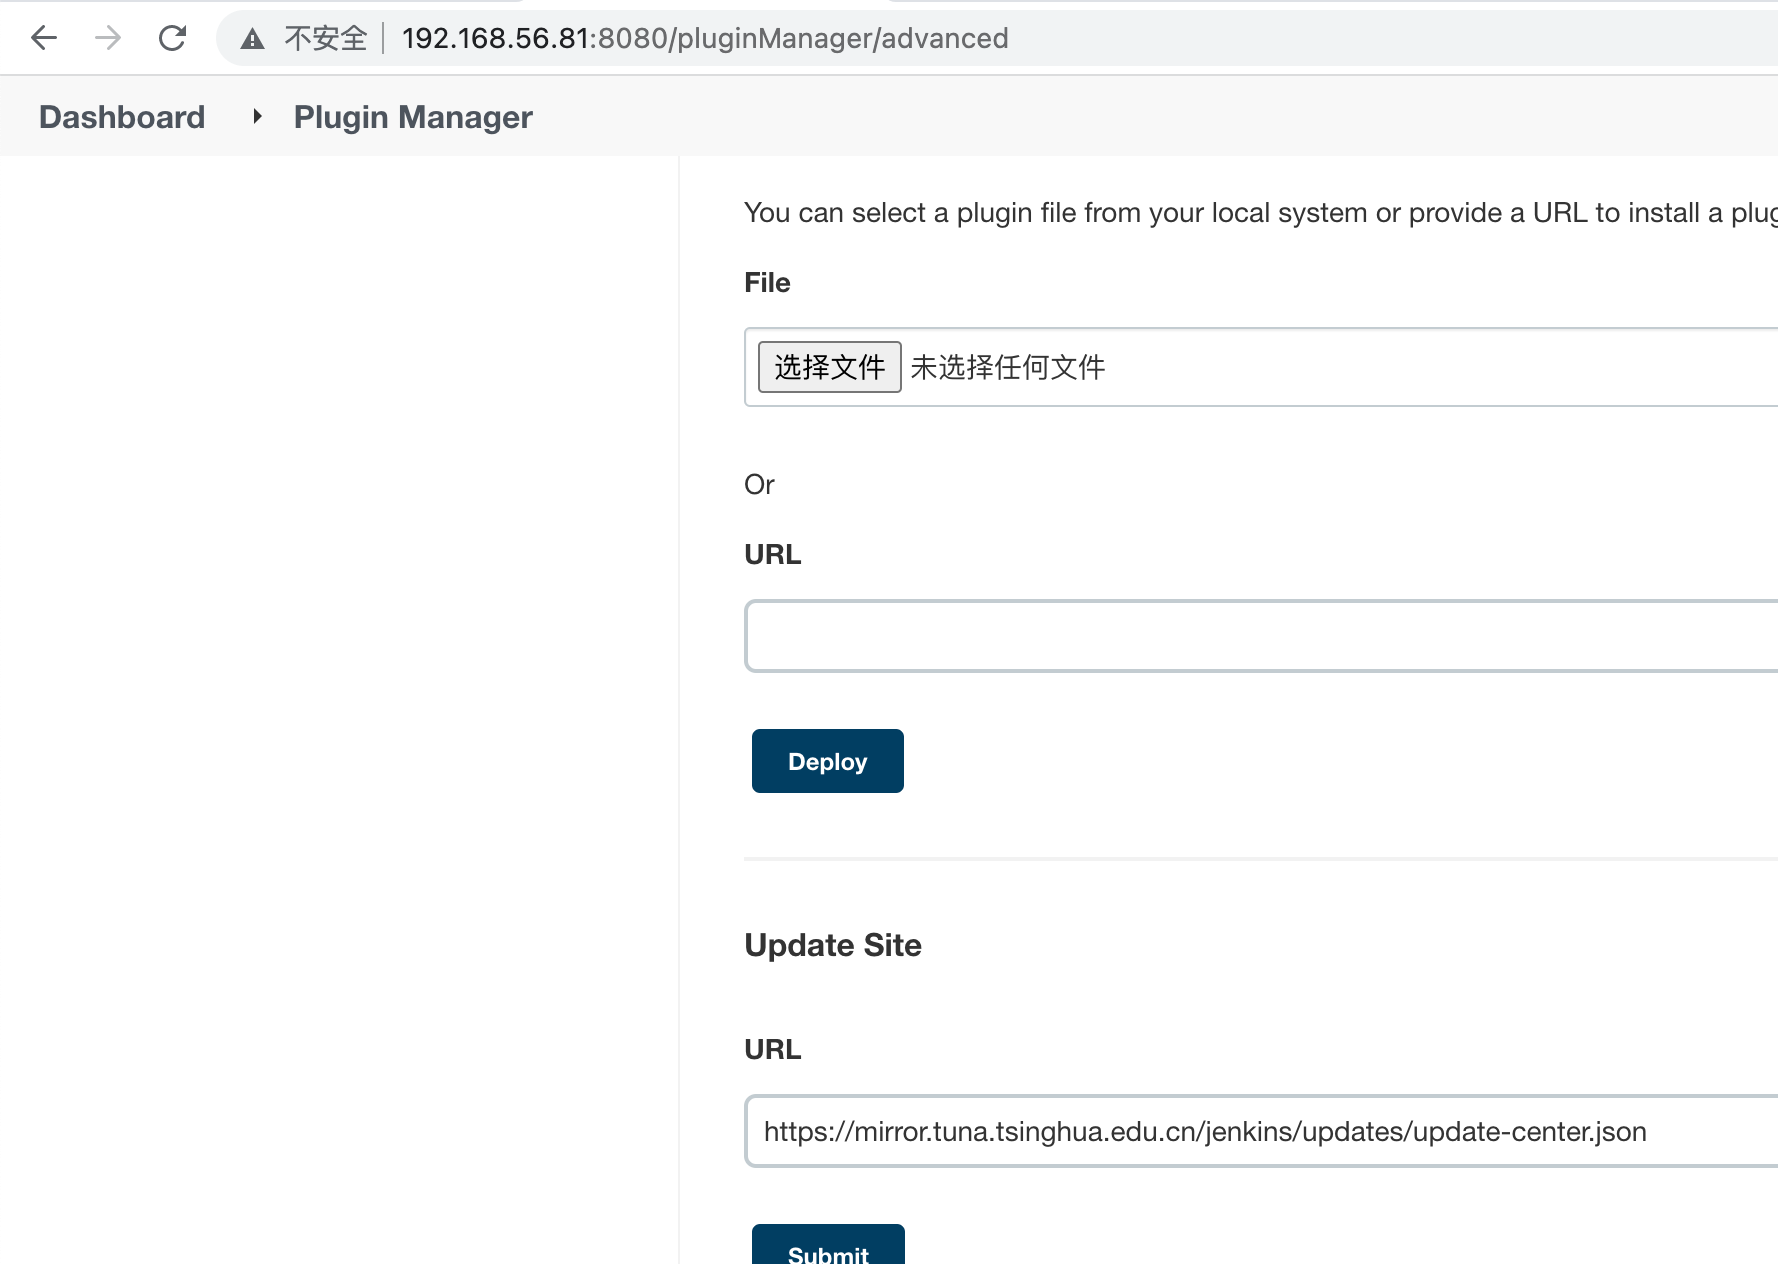
插件管理,修改更新地址
https://mirror.tuna.tsinghua.edu.cn/jenkins/updates/update-center.json
搜chinese 中文汉化插件 安装
gitlab api plugins
gitlab plugins 都装上
源码管理, ssh 使用ssh://xxxx/xxx.git
url 使用https://xxx/xxx.git ,用户名和密码的方式( gitlab的账户和密码)
Publish Over SSH插件安装
代码发布
bash -x xxx.sh